Outdoor Kitchen Island Installation Made Easy: A Complete Guide
Posted by Gregg Schoenborn on 27th May 2025

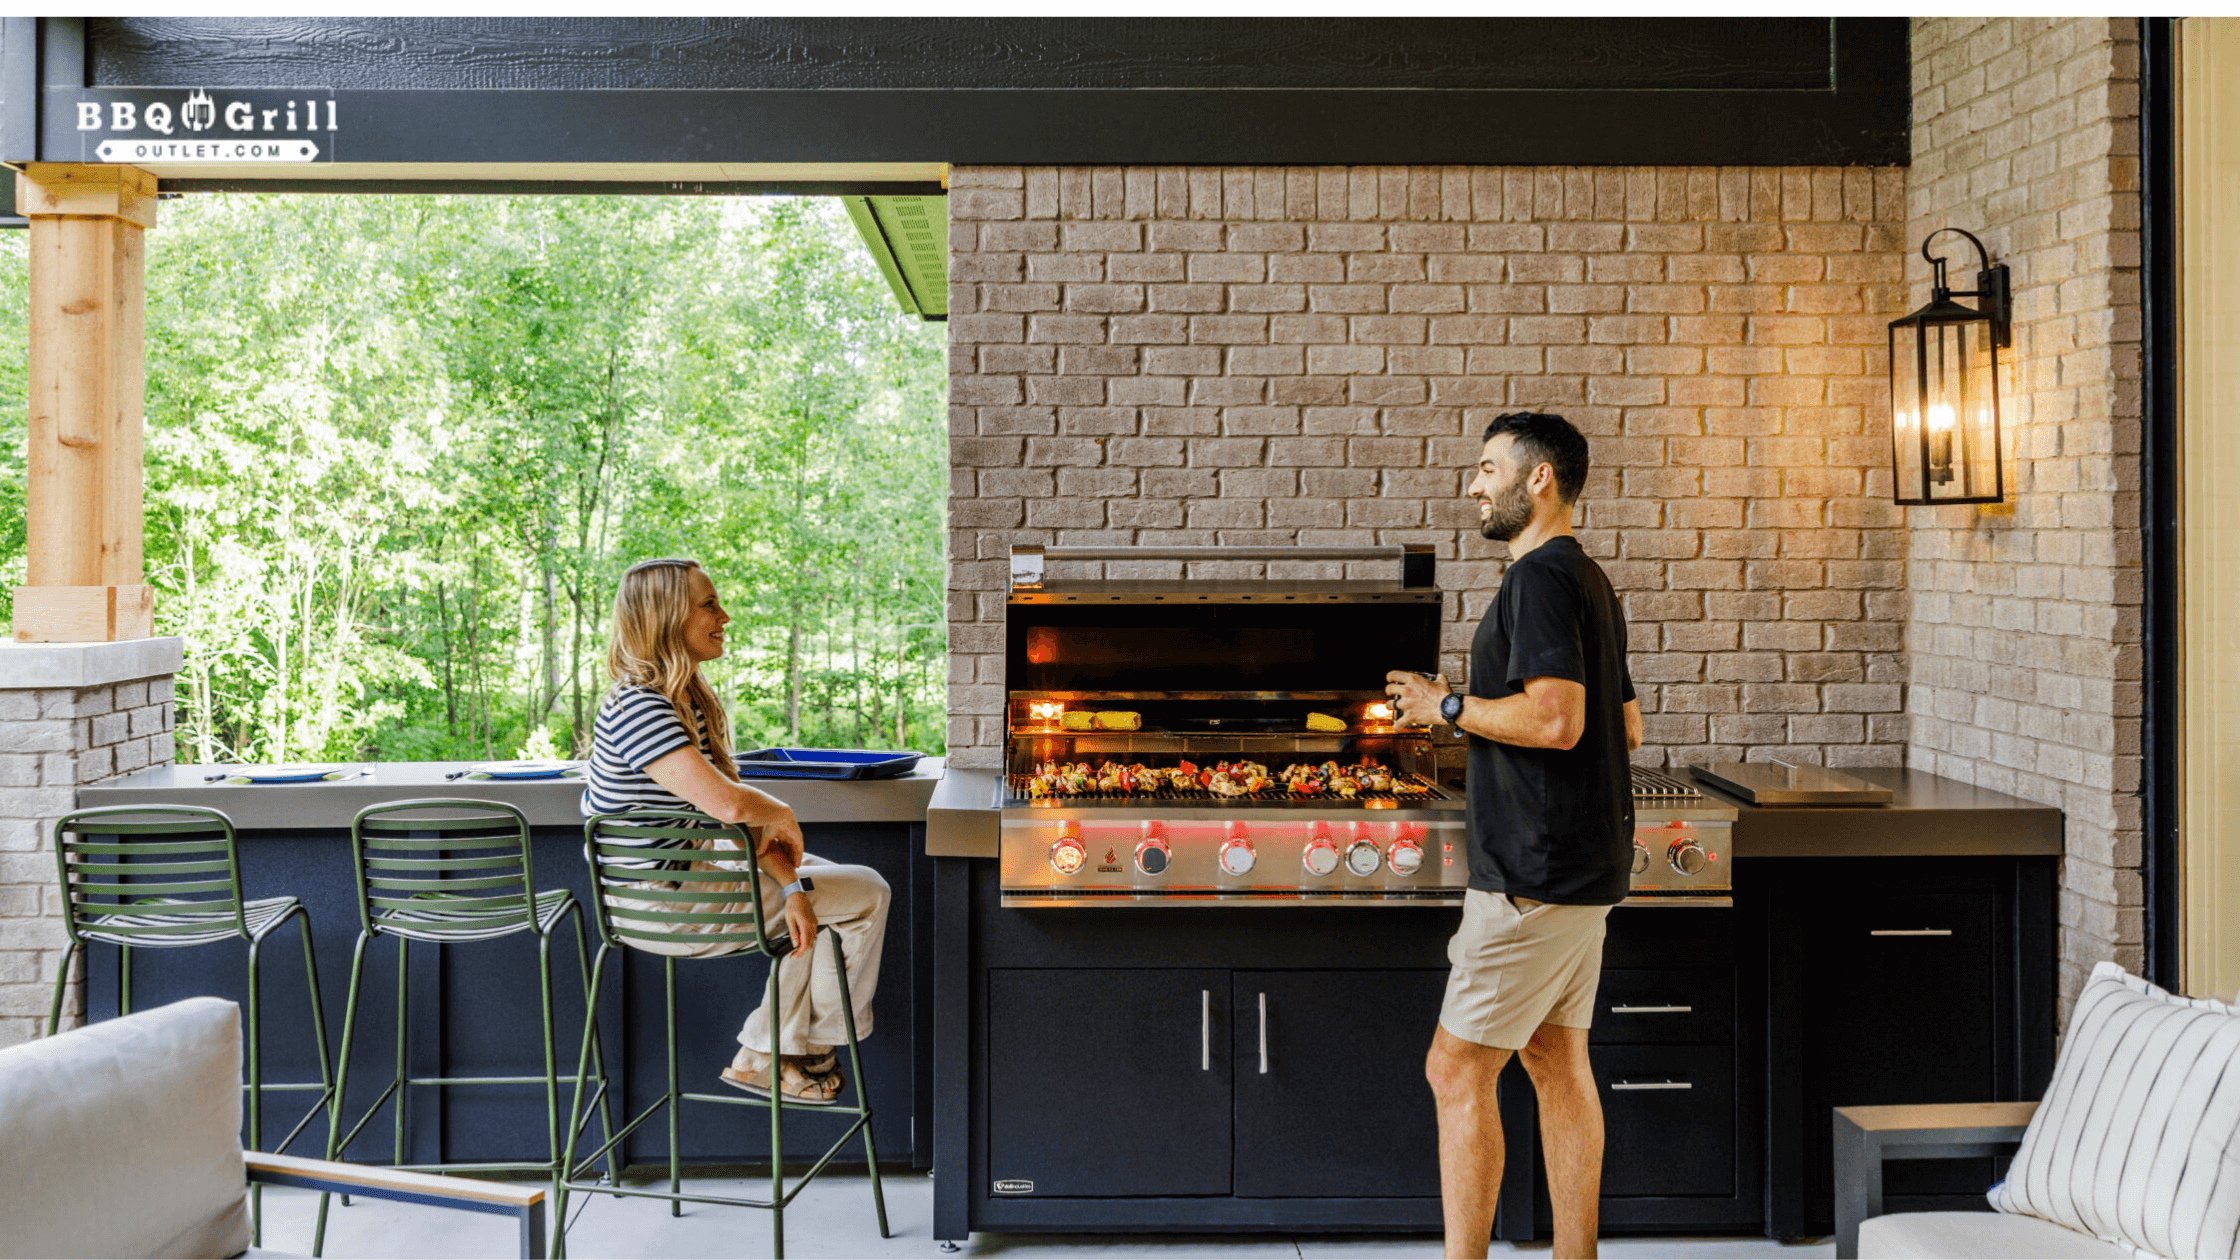
An outdoor kitchen island installation is a great way to elevate your backyard, creating a stylish and functional space for cooking and entertaining. If you choose a DIY approach or hire professionals, careful planning and execution are essential for a successful setup.
In this guide, we’ll walk you through the installation process, including site preparation, plumbing for an outdoor kitchen, electrical setup for outdoor appliances, ventilation requirements, and weatherproofing.
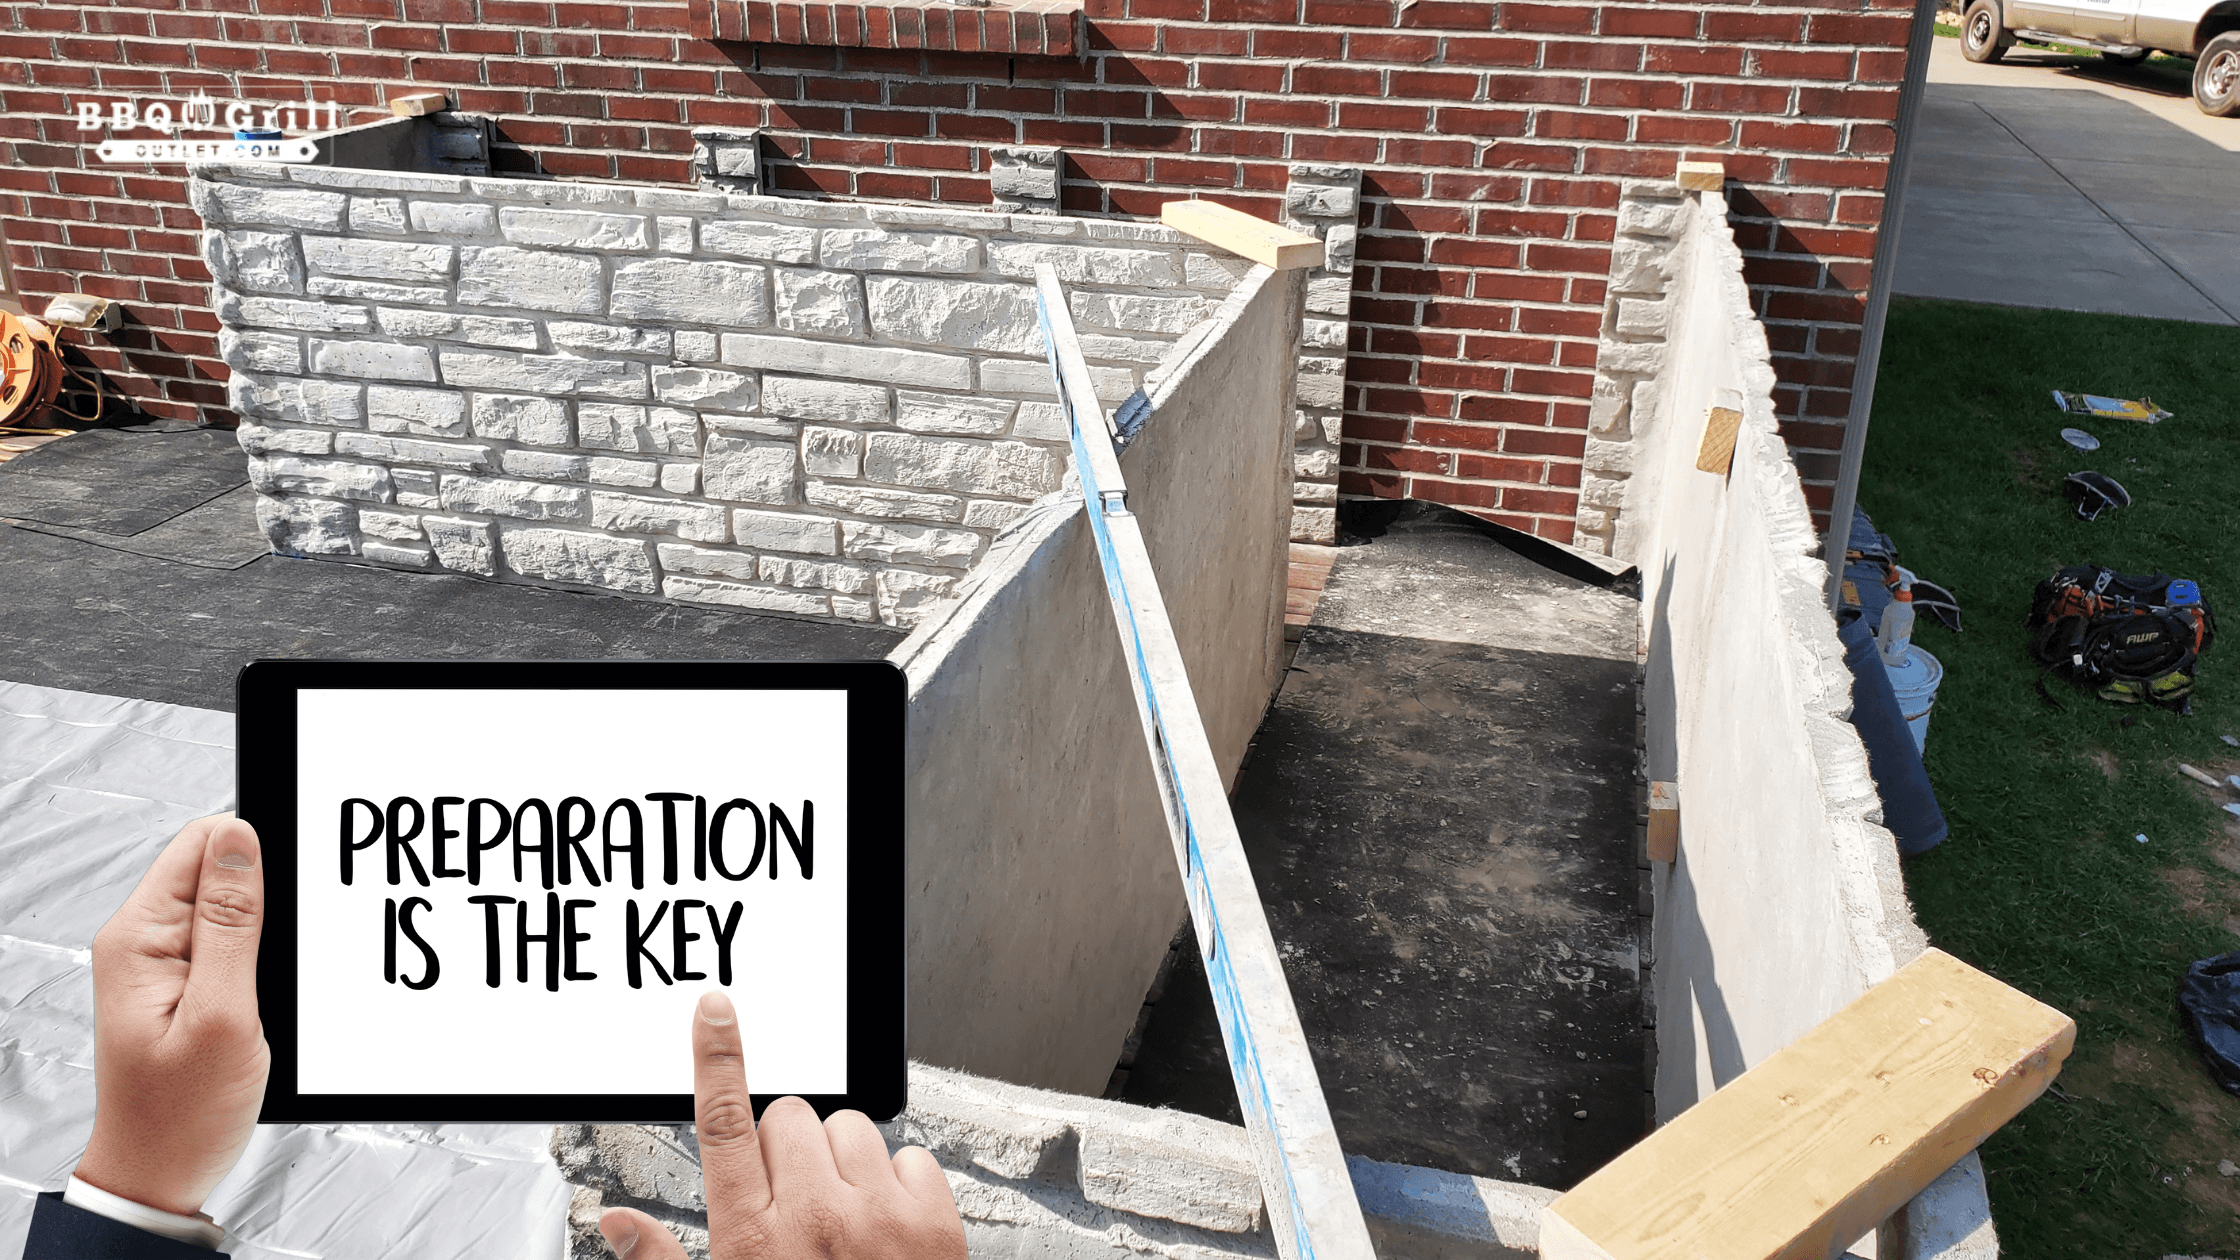
Step 1: Site Preparation
Before starting your outdoor kitchen island installation, choosing the right location and preparing the site properly is crucial for long-term durability.
Choosing the Right Location
- Pick a stable, level surface to support the kitchen island's weight.
- Keep a safe distance from combustible structures like fences and wood decks.
- Consider prevailing winds, sun exposure, and proximity to the indoor kitchen for convenience.
Checking Local Regulations
- Research local building codes and HOA regulations to ensure compliance.
- Obtain the necessary permits for gas lines, plumbing, and electrical work.
Creating a Sturdy Foundation
- A concrete pad or paver base is ideal for stability and weight support.
- Avoid placing your outdoor kitchen directly on grass or soil, as it can lead to uneven settling over time.
- Ensure proper drainage around the site to prevent water accumulation.

Step 2: Utility Connections
A well-functioning outdoor kitchen island requires proper plumbing, electrical, and gas line connections. Consulting professionals is recommended to ensure safety.
Gas Line Installation
- If using a built-in grill, side burner, or pizza oven, a natural gas or propane connection is necessary.
- Hire a licensed plumber to install gas lines and conduct pressure testing.
- Ensure ventilation requirements are met to prevent gas accumulation.
Plumbing for an Outdoor Kitchen
- A sink requires a water supply line and drainage system.
- Install weather-resistant pipes and fittings to prevent freezing in colder months.
- Ensure wastewater flows into an appropriate drainage system or greywater collection.
Electrical Setup for Outdoor Appliances
- Outdoor refrigerators, lighting, and electrical grills need GFCI-protected outlets.
- Use waterproof electrical conduits for safety.
- Install LED lighting above cooking and prep areas for better visibility at night.
Step 3: Ventilation & Weatherproofing
Your outdoor kitchen island installation must consider ventilation requirements and durable materials to withstand weather conditions.
Ventilation Requirements
- Gas appliances require ventilation panels to prevent gas buildup.
- Place vents on opposite sides of the kitchen island for cross-ventilation.
- If using a range hood, install an exhaust fan to remove smoke and fumes.
Weatherproofing Your Outdoor Kitchen
- Use stainless steel, stone, or concrete for cabinets and countertops to prevent rust and decay.
- Choose weatherproof electrical components to avoid damage from moisture.
- Consider a pergola, roof extension, or retractable awning for protection against the elements.

Step 4: Assembly & Finishing Touches
Once the main structure and utilities are in place, it’s time to assemble your outdoor kitchen and add final aesthetic touches.
Installing Countertops and Appliances
- Secure countertops using brackets and screws to prevent shifting.
- Install built-in grills, sinks, refrigerators, and storage units according to manufacturer guidelines.
- Test all utility connections before using appliances.
Aesthetic Enhancements
- Add a tile backsplash or stone veneer to enhance visual appeal.
- Incorporate bar seating, a fire pit, or an outdoor dining area for a complete entertainment space.
- Use solar-powered or LED lighting for ambiance and functionality.
Step 5: Additional Considerations
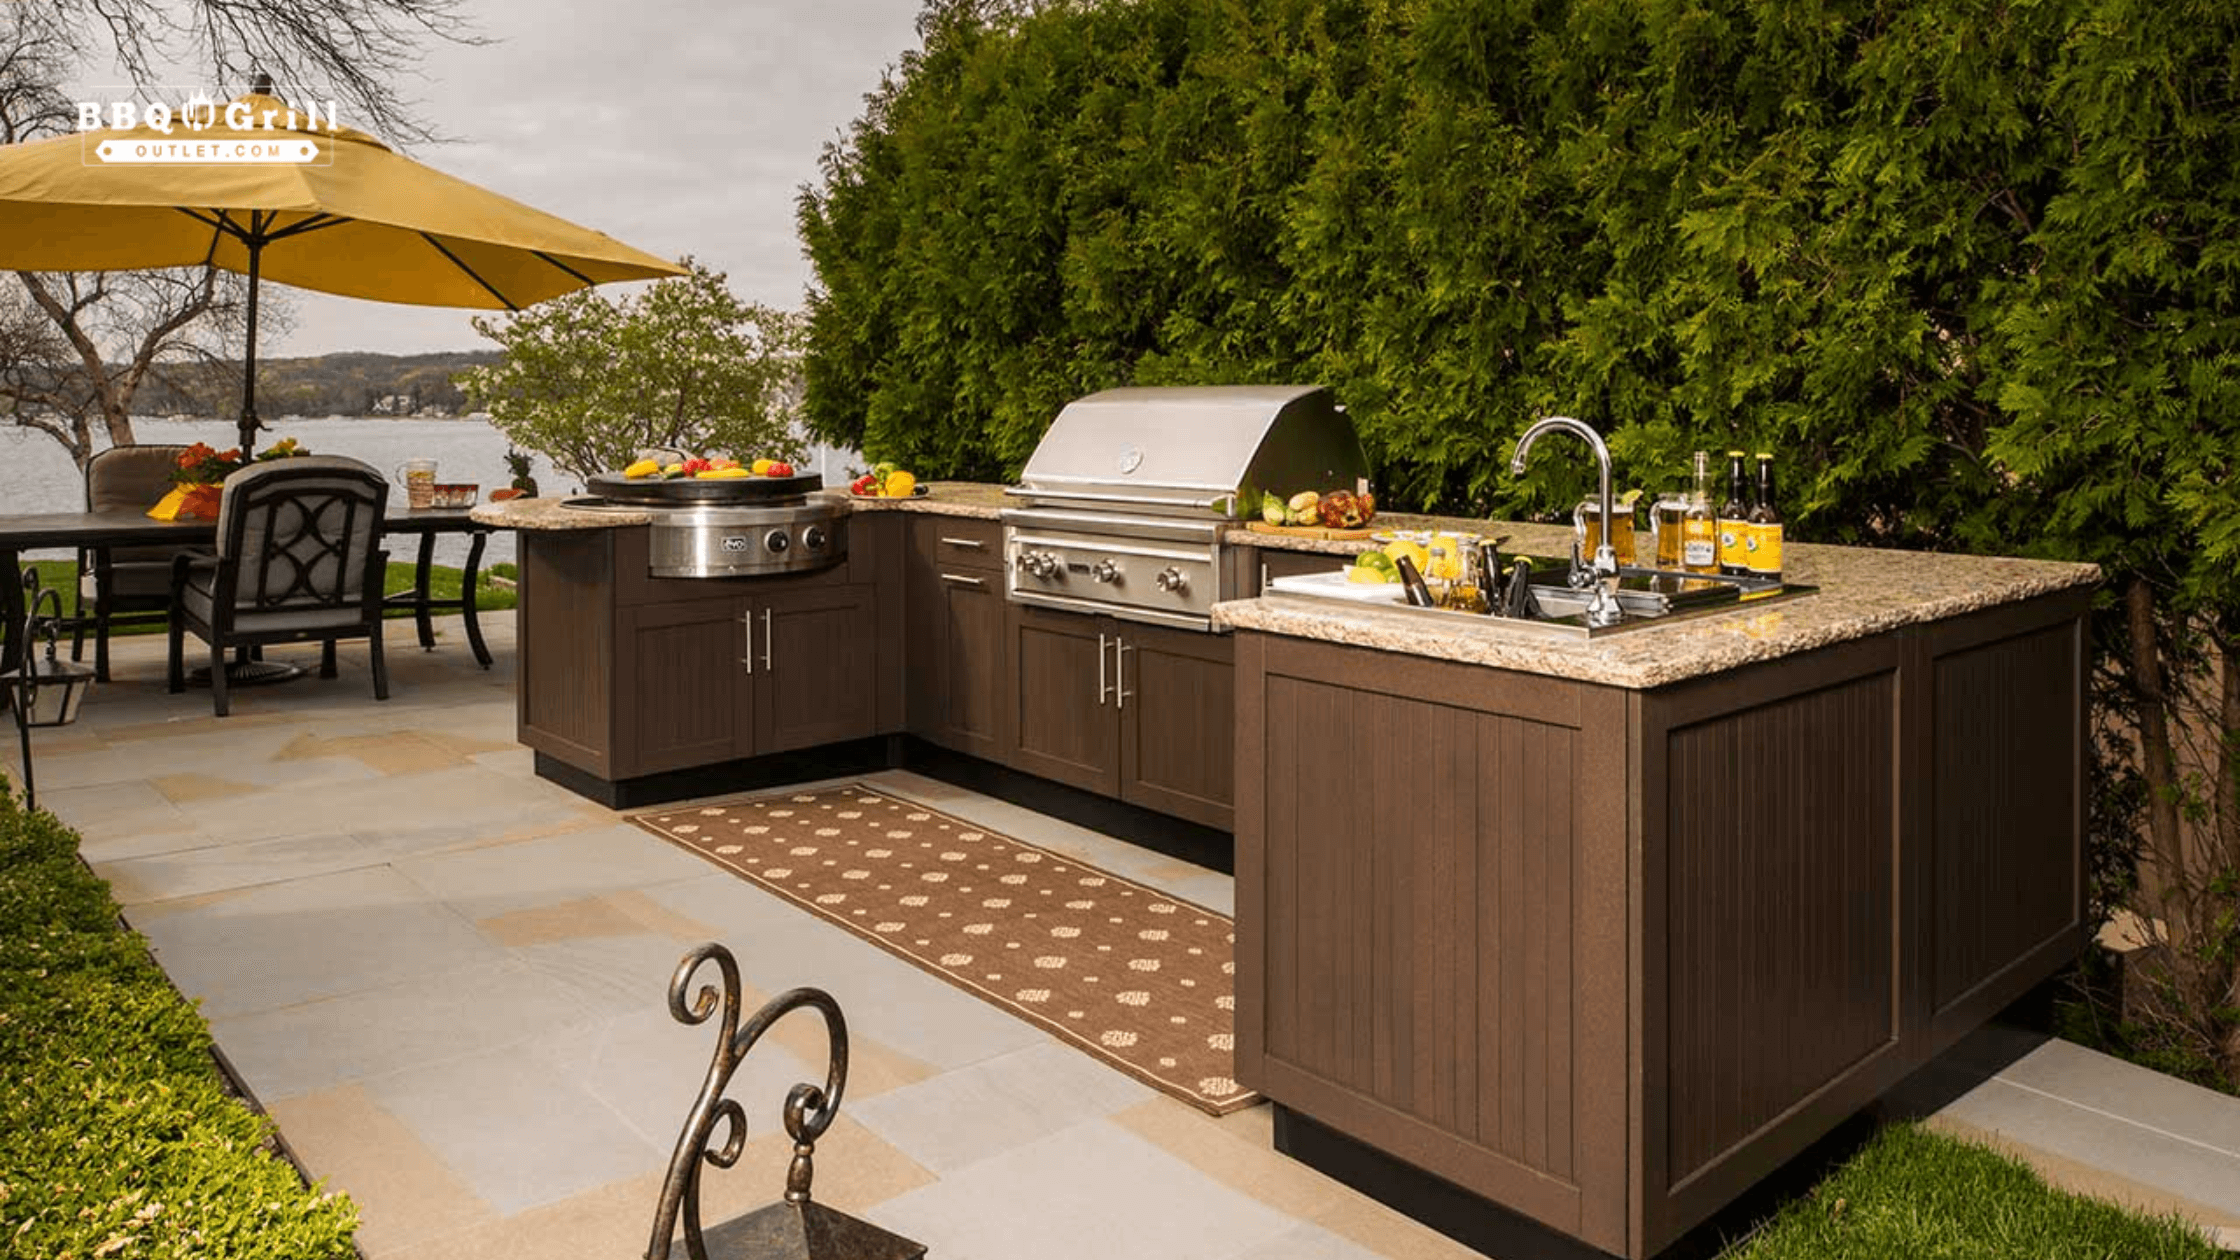
Choosing the Right Outdoor Kitchen Layout
- Select a layout that maximizes efficiency, such as L-shaped, U-shaped, or straight-line configurations.
- Ensure a well-balanced work triangle between the grill, sink, and refrigerator.
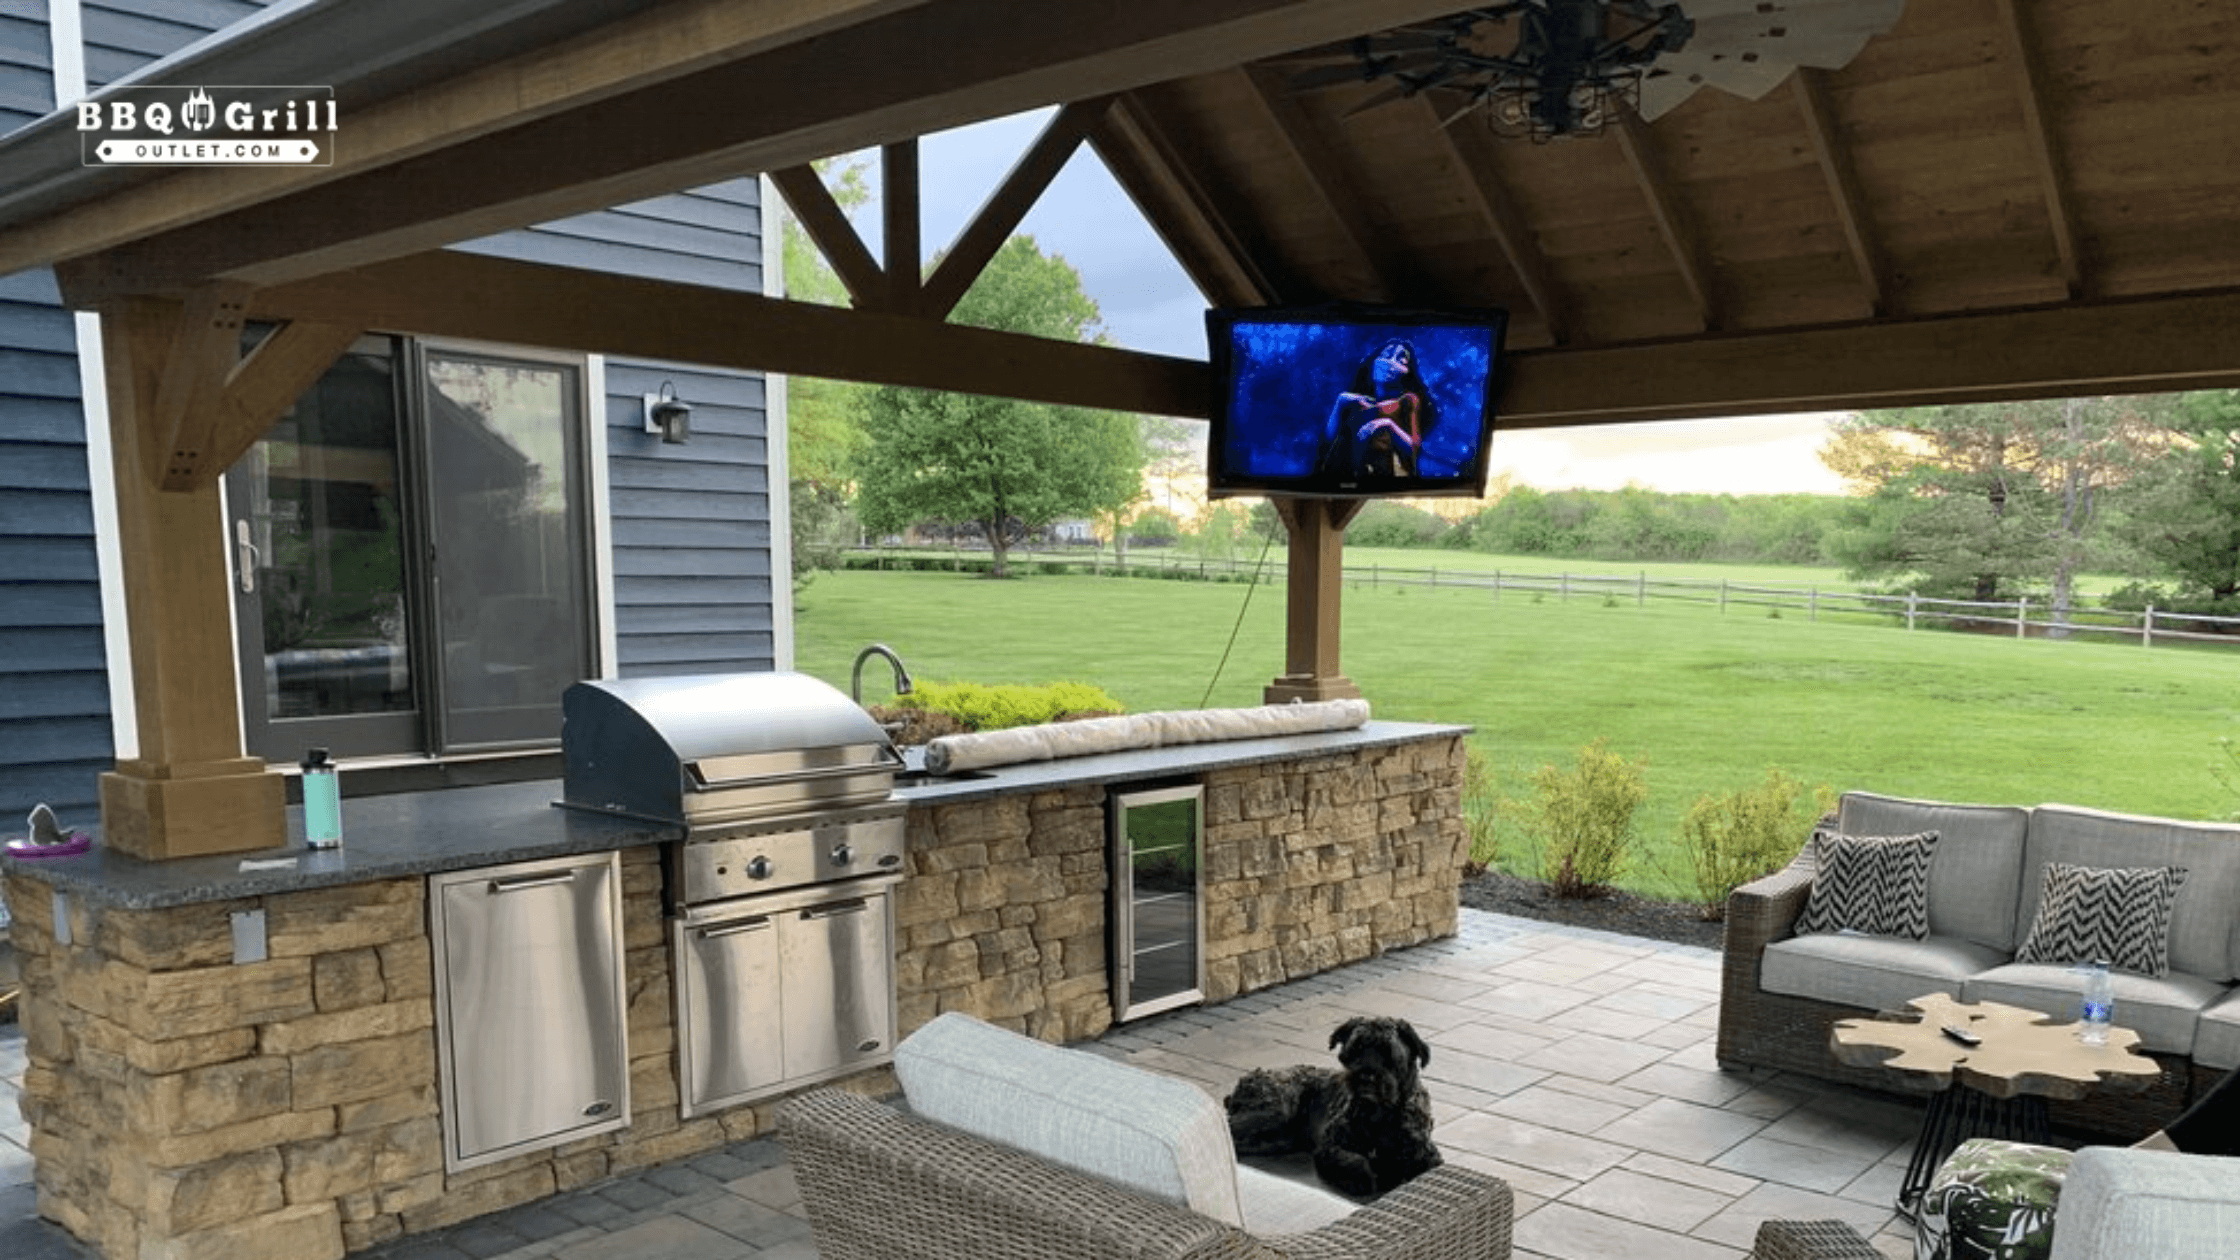
- Consider an open vs. covered kitchen depending on climate and usage frequency.
Flooring and Outdoor Kitchen Surface Options
- Choose slip-resistant tiles, concrete, or natural stone to ensure safety.
- Avoid materials that absorb heat excessively, making the area uncomfortable to stand on during hot weather.
- Ensure proper sealing of stone and wood surfaces to prevent damage from moisture and spills.
Outdoor Kitchen Lighting Solutions
- Use task lighting for cooking and prep areas to enhance visibility at night.
- Add ambient lighting like string lights or sconces to create a warm and inviting atmosphere.
- Consider motion-sensor or solar-powered lighting for energy efficiency and convenience.
Expanding your outdoor kitchen with extra features can improve its functionality and convenience.
Outdoor Kitchen Storage Solutions
- Install weatherproof cabinets and drawers for storing utensils and grilling accessories.
- Use sealed storage compartments to protect against moisture and pests.
Climate Control for Outdoor Kitchens
- Ceiling Fans – Outdoor-rated ceiling fans improve airflow and help reduce heat in hot climates.
- Misting Systems – These systems spray a fine mist that cools the air, making outdoor cooking more comfortable.
- Patio Heaters – Freestanding or wall-mounted heaters provide warmth during colder months.
- Fire Features – Fire pits, fireplaces, or tabletop fire bowls add heat and ambiance for year-round usability.
- Shade & Wind Protection – Pergolas, awnings, and windbreaks help regulate temperature by blocking heat and retaining warmth.
Smart Technology Integration
- Add Wi-Fi-enabled appliances like smart grills or Bluetooth temperature monitors.
- Install an outdoor sound system or smart lighting for enhanced entertainment options.
Fire Safety Measures
- Always have a fire extinguisher within easy reach to quickly handle unexpected flare-ups and ensure a safe cooking environment.
- Install non-combustible materials around cooking areas.
- Ensure proper spacing between heat-producing appliances and flammable surfaces.
Seasonal Maintenance Tips
- Clean and inspect gas lines, burners, and electrical connections before each season.
- Cover appliances when not in use to protect against the elements.
- Reapply sealant to stone or wood surfaces periodically to maintain durability.
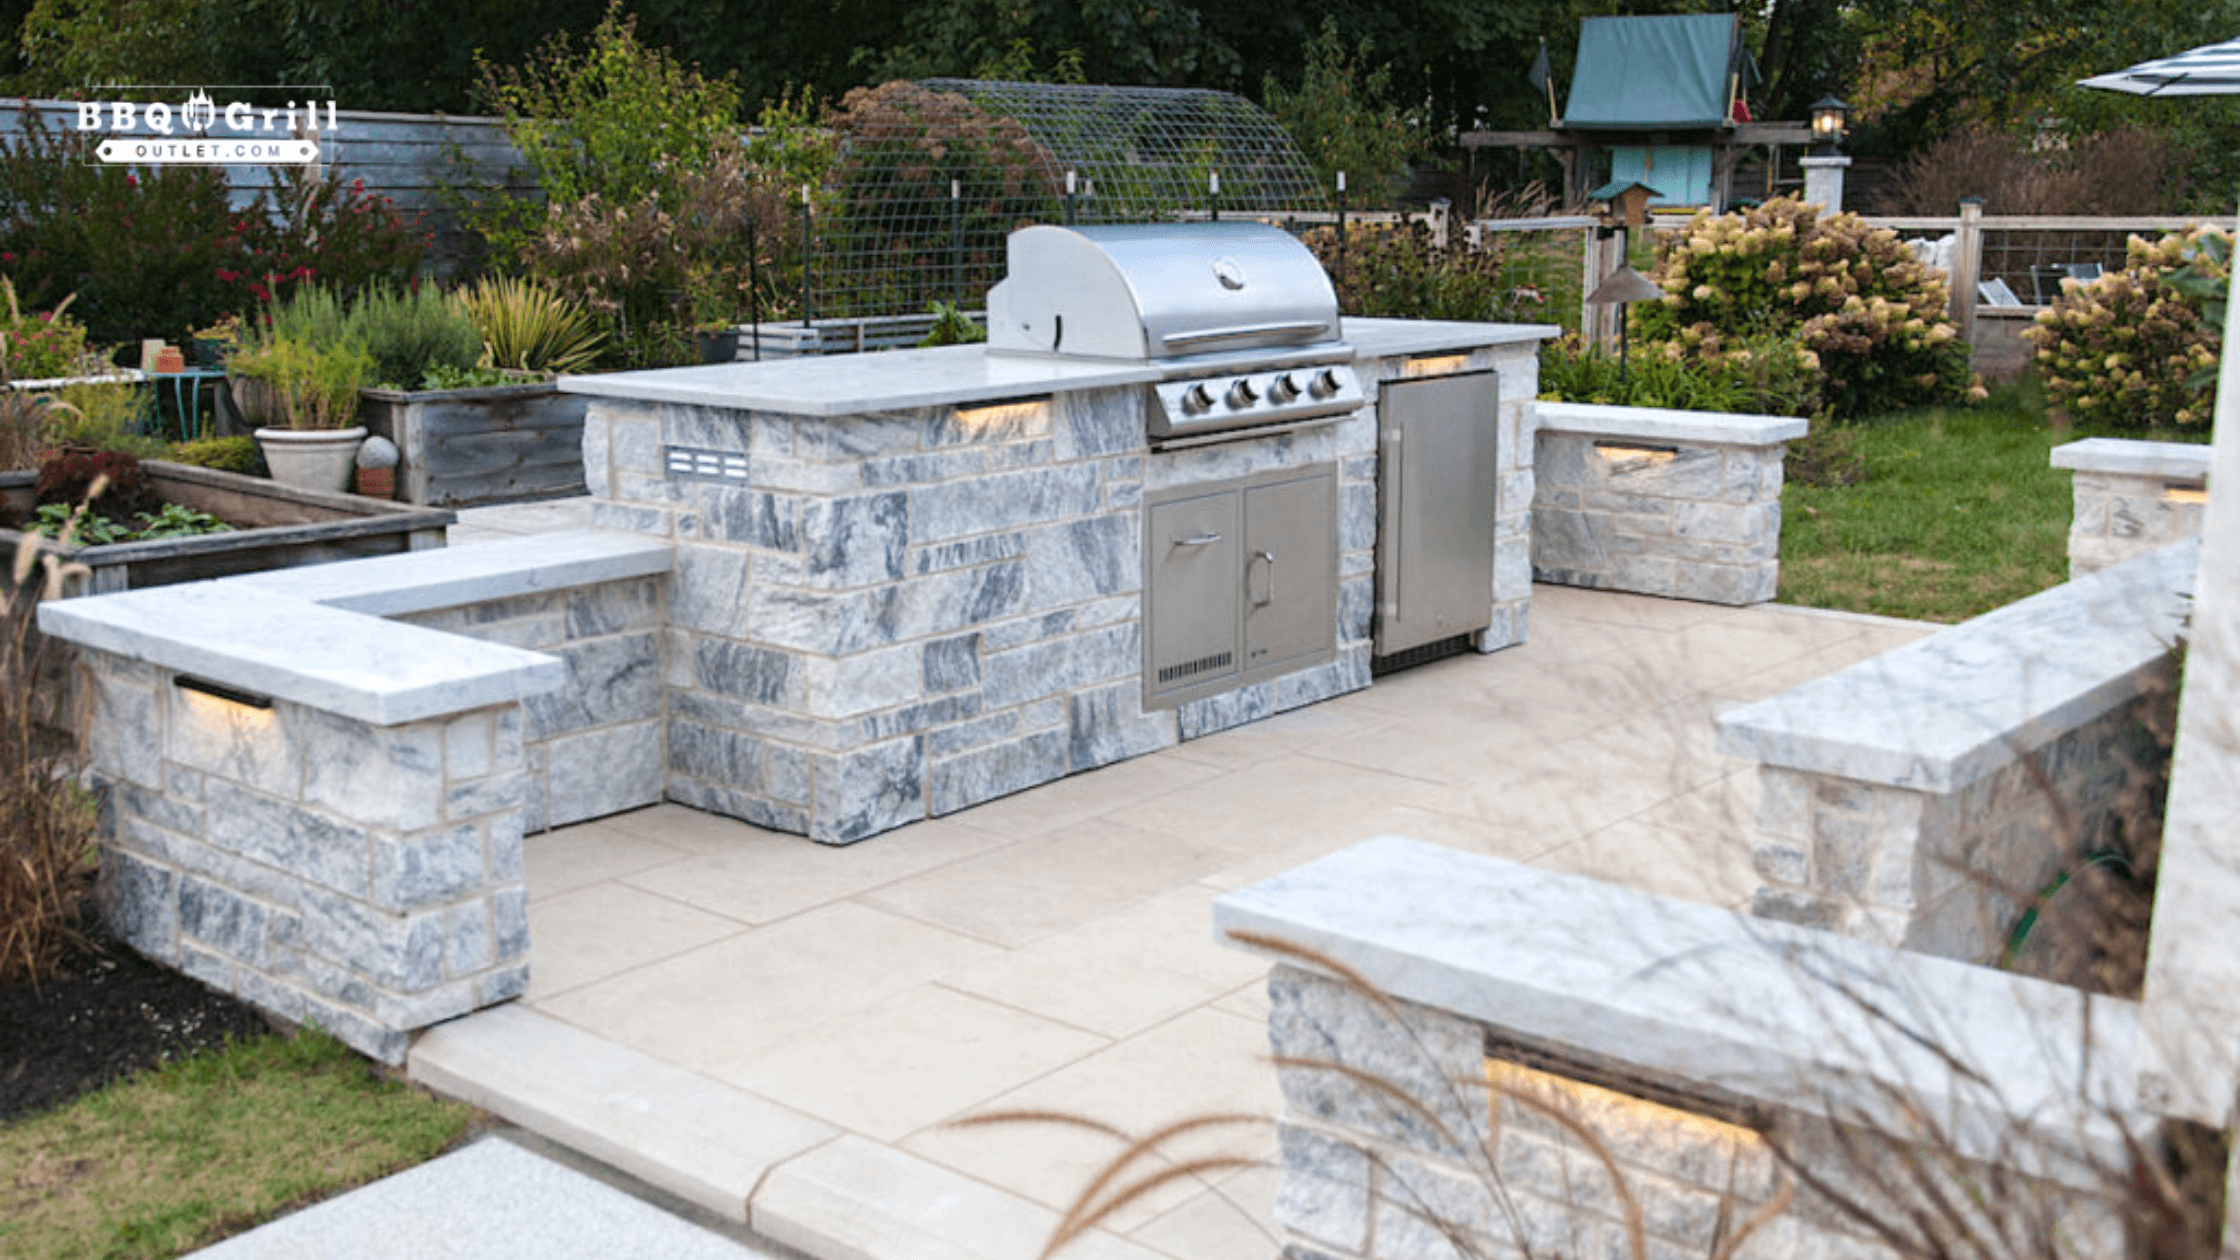
Best Materials for Outdoor Kitchens
Choosing the right materials for your outdoor kitchen island installation is crucial for durability and weather resistance. Stainless steel, concrete, and natural stone are excellent options, as they withstand outdoor conditions and require minimal maintenance.
For countertops, granite and tile offer both aesthetic appeal and heat resistance.
To learn more about the best materials for outdoor kitchens, check out our in-depth guide here.
Final Thoughts
A well-planned outdoor kitchen island installation creates a functional and stylish space for outdoor cooking and gatherings. If you opt for a DIY outdoor kitchen or professional installation, following these steps will ensure a durable, safe, and efficient outdoor kitchen.
For the best results, equip your space with high-quality products from BBQ Grill Outlet. We offer premium grills, appliances, and accessories to help you build the perfect outdoor kitchen.
Call us today at (888) 855-9806 to explore our selection and get expert advice on your setup.
Happy grilling!

